

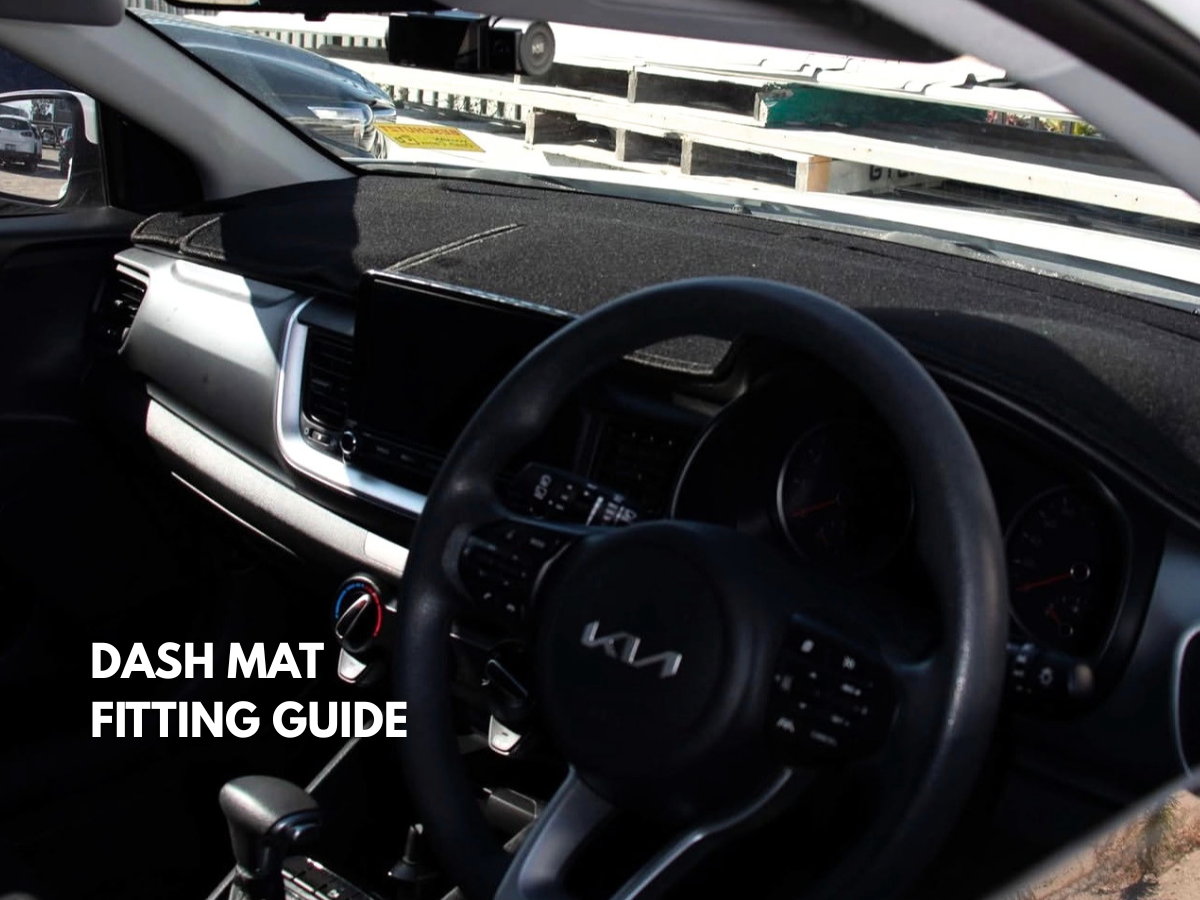
Protectomat dash mats are supplied with adhesive tabs to help secure the mat in position. Follow these simple steps for installation.
Step 1: Remove the Packaging
Carefully remove the cardboard packaging from the dash mat. Pull the cardboard straight away from the mat to help remove any staples.
Important: If a staple remains attached, take care when removing it as it may be sharp.
Step 2: Prepare the Adhesive Tabs
Peel the adhesive strip from the cardboard backing and cut it into six individual pieces.
Separate the tabs and have them ready for installation.
Step 3: Position the Tabs
Place the adhesive tabs on the underside of the dash mat:
-One in the centre
-One in each corner
-One at the end
Adjust the placement to suit the shape of the dash mat.
Do not place adhesive tabs on the airbag flap.
Step 4: Position the Dash Mat
Place the dash mat onto the dashboard and check that it lines up correctly with:
-Dashboard contours
-Air vents
-Dashboard features
-Airbag flap
Step 5: Secure the Dash Mat
Once you’re happy with the positioning:
-Remove the backing from the adhesive tabs
-Press the dash mat firmly into place
-Apply pressure to each tab to ensure it adheres correctly
Step 6: Perform a Final Check
Inspect the dash mat to ensure:
-Everything lines up correctly
-The mat is sitting flat on the dashboard
-The airbag flap remains unobstructed
